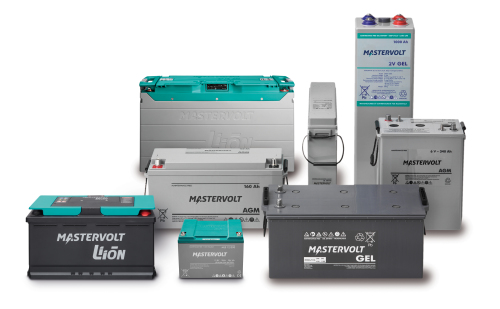
The beating heart of all the electrical systems onboard a boat is formed by batteries. It is essential to select a suitable size and type of battery to meet your load and requirement.
In this article we will look at steps to install a marine battery.
Before we start, we will need following tools/equipment:
- Battery
- Battery box or a thick rubber mat to place the battery.
- Battery terminals
- Lugs
- Battery cables (Red and Black coloured)
- Heat shrink
- Cable ties
- Fuse
- Crimping tool
- Heat gun
Steps to install a battery
Step 1. Select a location for your battery. It must be cool, high and dry. (NOTE: Elevated storage temperatures increase the self-discharge rate of the batteries and reduces the storage time between required freshening charges.)
Step 2. Select a place for installing your battery switch. It must be dry and easy to access.
Step 3. Measure the distance from +ve terminal of your battery to the battery switch.
Step 4. Measure the distance from battery switch to the bus bar or till the +ve terminal of your equipment
Step 5. Measure the distance from –ve terminal of battery to the bus bar.
Step 6. Prepare your cable by following the below 6 steps
- Strip the outer sheath of the cable to expose approx. 10mm of bare wire.
- Cut 30mm of heat shrink.
- Attach lugs to the exposed part of the cable.
- Crimp the lugs.
- Slide the heat shrink over the cable lug.
- Use the heat gun to melt the heat shrink into place.
Step 7. Install the battery switch.
Step 8. Connect the cables to the battery.
Step 9. Tighten the terminals.
Step 10. Give finishing touches to the installation process by:
- Secure the cables tidily using cable ties.
- Protect the terminals by spraying Boeshield on it to prevent corrosion.
Battery Installation Tips:
- When mounting multiple batteries there must be ½” of space between the batteries to allow for convection cooling. If contained, assure the container or cabinet and room have adequate ventilation to prevent an accumulation of potentially vented gas.
- When the batteries are being placed side to side, all the batteries should be placed with the terminals of the same polarity +ve or –ve to the front of the shelf.
- Once the batteries are placed on the racks they should be numbered for future identification during maintenance
Marine Battery Safety Tip:
Tape up the ends of any loose wires to prevent arcing and switch off the battery switch before connecting the wire to the +ve terminal of the battery.
Technical Tips:
Battery temperature sensor improves charge control and battery performance. Applying the proper charge voltage is critical for achieving optimum battery performance and longevity. The ideal charge voltage required by batteries changes with battery temperature. The battery temperature sensor allows the charge controller to continuously adjust charge voltage based on actual battery temperature.
Temperature compensation of charge voltage assures that the battery receives the proper charge voltage as battery temperature changes during normal operation.

Deepak is a graduate of Center of Marine Engineering Technology from The Indian Navy and has been in the Middle East for over 6 years.
He began his career with The Indian Navy and had an opportunity to work onboard various war ships and technical establishments of The Indian Navy performing various technical duties and military tasks. His technical capabilities and dedication towards the service have been commended on various occasions by The Chief of Naval Staff & The Chiefs of Eastern and Western Naval Commands respectively.